If you’ve ever watched a freshly laid gravel path turn into a muddy, weed-riddled mess within a season, you already know the problem isn’t the gravel. It’s the process. A proper gravel path installation guide covers more than just dumping stone on the ground. It walks you through the prep, the layers, and the small details that separate a path that lasts a decade from one that needs redoing by spring. We put this guide together to give you the clearest, most practical walkthrough available, from tools to final compaction.
| Point | Details |
|---|---|
| Preparation is everything | Proper excavation and soil compaction prevent settling, shifting, and long-term path failure. |
| Layer order matters | A crushed stone base, landscape fabric, and decorative gravel work together to keep the path stable. |
| Gravel type affects performance | Angular crushed stone compacts better and resists shifting far better than rounded pea gravel on busy paths. |
| Edging prevents gravel migration | Install edging at least half an inch above the gravel surface to keep stones in place over time. |
| Drainage planning saves money | Grading your path at a quarter inch per foot slope prevents water pooling and gravel washout. |
Getting the right tools and materials together before you break ground saves time and prevents costly mid-project stops. Here is what you need on site before you start.
Tools:
Materials to source in advance:
| Material | Purpose | Notes |
|---|---|---|
| Crusher run (crushed stone base) | Stable sub-base layer | 2 to 4 inch compacted depth |
| Landscape fabric | Weed barrier and soil separator | Heavier weight lasts longer |
| Decorative gravel | Top walking surface | Angular stone preferred for traffic |
| Metal, wood, or stone edging | Gravel containment | Choose based on aesthetic and budget |
One site consideration most homeowners skip: drainage. Site drainage must be planned before you start digging. If your path runs near a downspout or low spot in the yard, water will pool under the gravel and destroy your base layers. Route drainage away from the path before installation, and plan a slope of at least a quarter inch per foot for natural runoff.
Pro Tip: Make a simple jig from scrap wood to mark consistent curves along your path layout. It keeps your width uniform and makes smooth turns look intentional rather than accidental.
This is the stage most DIY projects rush through, and it is almost always why paths fail. Solid gravel walkway installation steps begin underground, not on top of it.
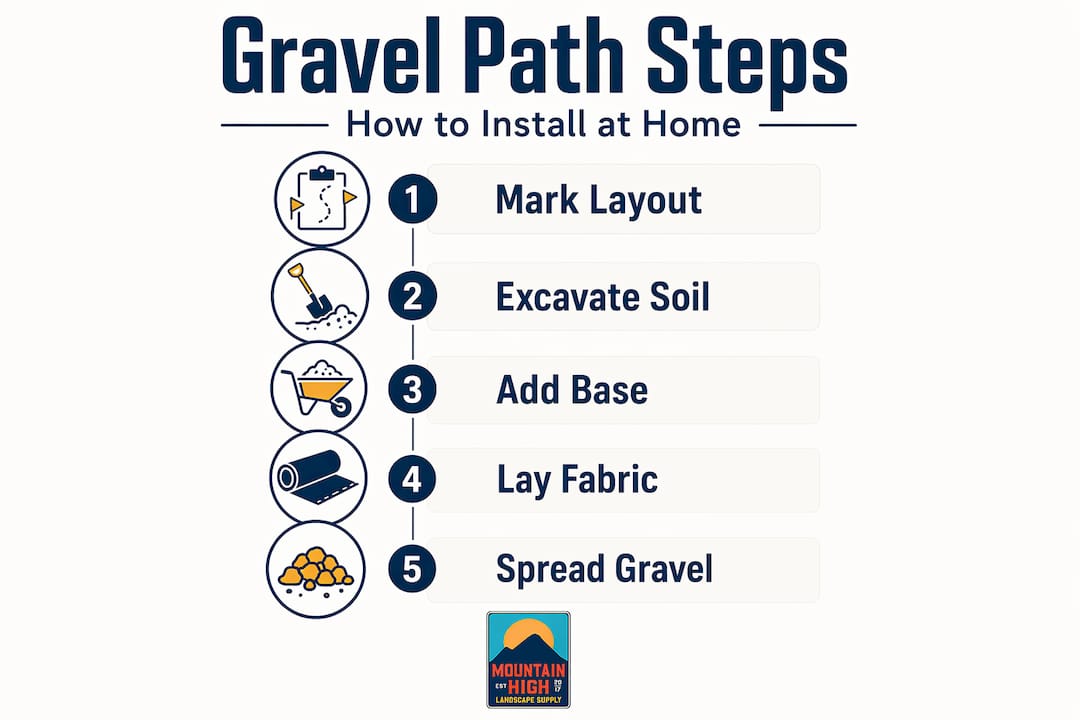
Mark your layout. Lay a garden hose along the intended path to visualize the shape. Once satisfied, use marking spray paint to trace both edges. For straight paths, string lines and stakes give you clean, accurate borders.
Excavate to the right depth. Dig down 4 to 6 inches below grade. This depth accommodates your compacted base layer and your decorative gravel on top. Deeper is better on clay-heavy soils common in Georgia, where drainage is often poor.
Clear the area. Remove all roots, rocks, and organic debris from the excavated trench. Organic material decomposes over time and causes the surface to sink unevenly.
Compact the exposed soil. Compact the soil base thoroughly before adding any stone. A plate compactor delivers the most even results. Hand tampers work on narrow or short paths but require more effort to achieve the same density.
Check for slope. Use your level and measuring tape to confirm the path drains away from structures. Aim for a quarter inch drop per linear foot.
Pro Tip: If your soil is extremely soft or sandy, lay a geotextile membrane directly on the subgrade before adding base material. It keeps the crushed stone from slowly sinking into loose ground below.
Think of this stage as building the real path. The decorative gravel on top is the last thing you add and, in terms of structural integrity, the least important layer. The sub-base is the unseen hero of any gravel path, and most homeowners who end up with unstable paths skipped or rushed this stage.
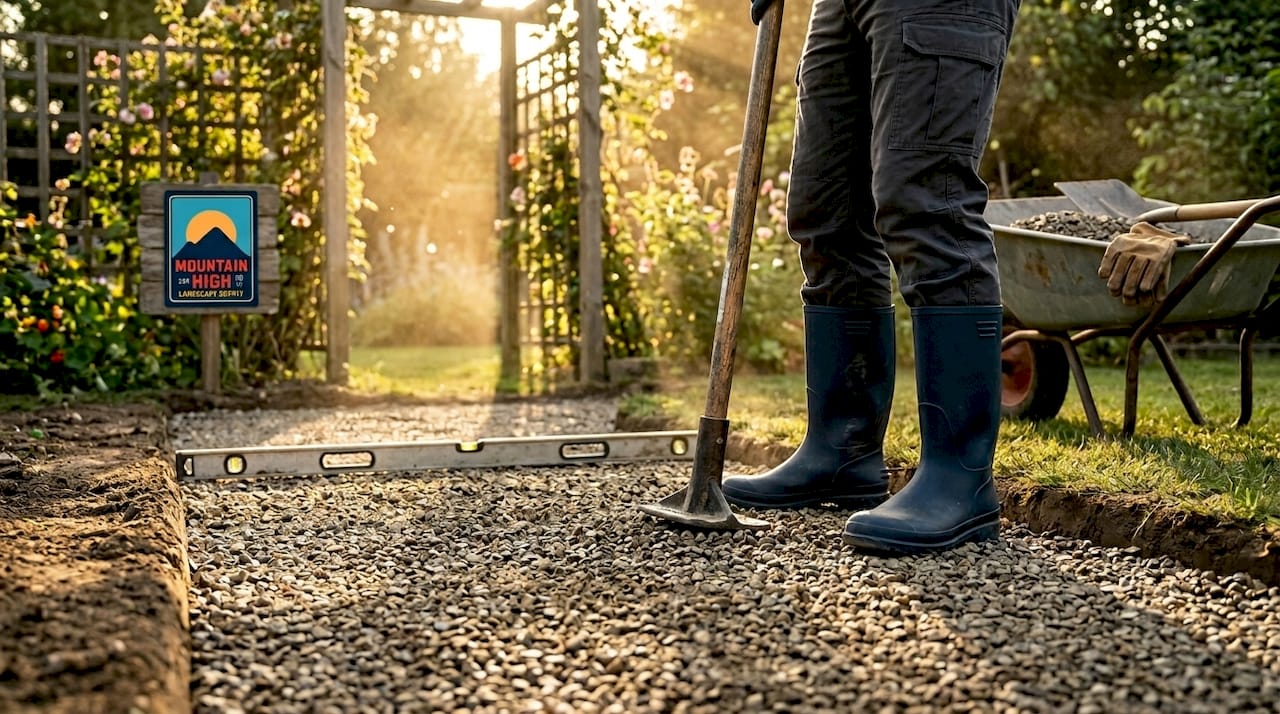
Crushed stone base:
Spread your crusher run across the excavated trench in a 2 to 4 inch layer. Rake it out evenly, then compact it thoroughly with your plate compactor. The stone should feel solid underfoot with no give. A compacted crushed stone base paired with 2 inches of decorative gravel on top is the standard for a path that holds up to daily foot traffic.
Landscape fabric:
Unroll the fabric over the compacted base, pressing it flat against the edges and into corners. Overlap all seams by 4 to 6 inches. Skimping on the overlap allows weeds to find their way through gaps over time. Pin the fabric at the edges with landscape staples to hold it in place while you work.
Edging installation:
Metal edging offers the cleanest line for modern designs. Natural stone edging fits a more traditional or cottage-style yard. Pressure-treated wood is a budget-friendly middle ground with solid longevity when properly installed.
Pro Tip: When installing edging on curves, use flexible steel or aluminum edging rather than rigid wood. It bends smoothly and holds the shape without splitting or gapping.
Now you get to the part that actually looks like a path. The choices you make here affect both appearance and how the path performs under foot traffic over time.
Angular crushed stone compacts better and stays put far more reliably than rounded gravel. Pea gravel shifts and scatters underfoot, which feels pleasant barefoot but frustrating under regular foot traffic. If you want the look of rounded stone, reserve it for low-traffic decorative areas. For a working path, angular 3/4-inch crushed granite or decomposed granite are both excellent choices.
Here is how to apply the top layer correctly:
If you want to integrate stepping stones, set them into the gravel before the final compaction pass so they settle to a stable, flush level rather than sitting proud of the surface.
Pro Tip: Avoid mixing gravel sizes in the top layer. Different grades compact at different rates and create an uneven surface that only gets worse with use.
I’ve worked with homeowners on gravel pathway construction projects across a wide range of budgets and skill levels. Here’s what I’ve consistently found: the people who end up happy with their paths years later almost always spent 70% of their effort on preparation and base work. The people who regret their paths skipped those steps to get to the “fun part” faster.
What I’ve also seen is that professional-quality results rarely come from better gravel. They come from better edging, proper compaction, and taking drainage seriously before a single shovel of gravel hits the ground. Choose edging that matches your home’s character. A beautifully compacted path framed with mismatched or flimsy edging looks unfinished regardless of how good the stone is.
The other thing I’ll say clearly: plate compactors are worth renting. Hand tamping a 50-foot path is exhausting and rarely achieves the same density. Rent the compactor, do the job right, and your path will reward you for years.
— Eric

A well-built gravel path starts with quality materials, and that is exactly what we provide at Mountainhighmulch. We supply premium crusher run base material and a full selection of decorative gravel, landscape fabric, and edging from our supply yards in Marietta and Smyrna, GA. If you’re in the Atlanta metro area, you can pick up everything you need in one trip or take advantage of our reliable delivery service throughout the region.
Not sure which gravel type is right for your project? Our expert team is on site to help you choose materials that match your soil conditions, traffic level, and design goals. We also carry mulch and landscape mulch products for the surrounding beds that complement a fresh gravel path beautifully. Stop by, call us, or browse our full supply catalog at mountainhighmulch.com.
Excavate 4 to 6 inches below grade to accommodate a 2 to 4 inch compacted base layer and 2 inches of decorative gravel on top. Deeper excavation is better on clay-heavy soils with poor drainage.
Angular crushed stone, such as 3/4-inch crushed granite, compacts better and resists shifting far more than rounded pea gravel, making it the stronger choice for high-use walking paths.
Yes. Landscape fabric keeps weeds from pushing through and prevents gravel from mixing down into the soil below. Overlap seams by 4 to 6 inches and pin the edges with staples for best results.
Install edging on both sides of the path with the top sitting at least half an inch above the finished gravel surface. Metal and flexible aluminum edging works especially well on curved paths.
Gravel paths cost roughly 60% less than concrete, typically ranging from $2 to $15 per square foot depending on materials and size. Most homeowners can complete a basic path in a single weekend.