Atlanta homeowners and contractors know hardscape projects can fail fast without proper planning. Clay soil shifts, drainage backs up, and even well-laid patios sink within months if you skip critical steps. A structured workflow prevents these headaches by addressing soil conditions, drainage needs, and material selection upfront. This guide walks you through efficient preparation, execution, and verification stages with proven techniques and materials tailored for Atlanta’s unique challenges. You’ll learn when to DIY and when to call professionals, plus troubleshooting tips to keep your hardscape looking great for years.
| Point | Details |
|---|---|
| Drainage first | Drainage planning is non negotiable in Atlanta clay soil to prevent structural failures and moisture issues. |
| DIY vs pro | Start simple with gravel paths and hire professionals for patios or walls over two feet. |
| Material selection | Material selection should align with soil conditions and drainage needs to maximize durability and appearance. |
| Structured workflow | Following a proven sequence from site prep to compaction reduces common installation errors. |
| Utility marking | Mark utility lines before digging and follow 811 guidelines to prevent accidents and costly repairs. |
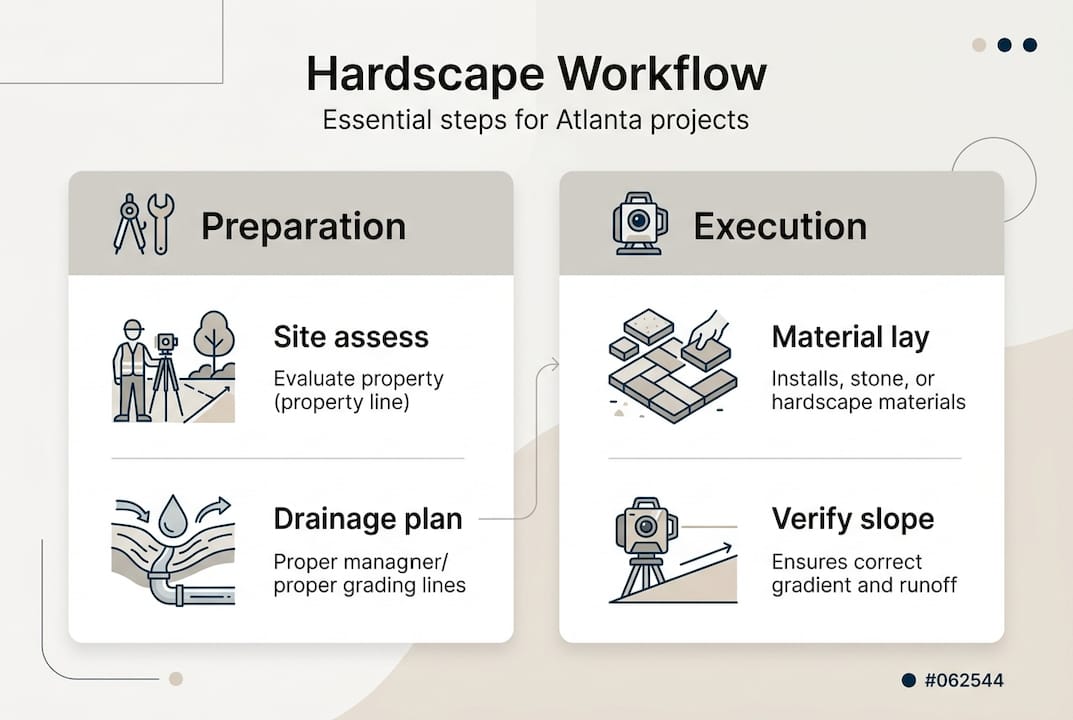
Solid preparation saves time and money by catching potential problems before you break ground. Start with a thorough site assessment: walk your property and note topography changes, existing drainage patterns, and soil type. Atlanta’s heavy clay soil holds moisture and expands when wet, then contracts during dry spells. This movement stresses hardscape structures, so understanding your specific soil conditions guides material choices and drainage solutions.
Drainage planning is non-negotiable. Atlanta contractors emphasize drainage first to avoid structural failures. Identify where water naturally flows during rain and plan grading to direct runoff away from your hardscape and home foundation. Consider installing French drains or drainage layers beneath patios and walkways. For sloped yards, terracing or retaining walls may be necessary to manage water flow and prevent erosion.
Material selection depends on your project scope and soil conditions. Pea gravel works well for simple paths and offers excellent drainage. Pavers provide a more finished look for patios but require a stable base to prevent shifting. Natural stone adds visual appeal but costs more and needs careful leveling. For base materials, use crushed stone or gravel that compacts firmly. Avoid sand-only bases in clay soil areas, as they don’t provide enough stability when moisture levels fluctuate.
Decide whether to DIY or hire professionals based on project complexity. Homeowners should start simple with gravel paths and hire pros for patios or walls over 2 feet. Professional contractors understand local soil behavior and have equipment for proper compaction. They also handle permits and ensure installations meet code requirements for retaining walls and drainage systems.
Gather essential tools and materials before starting. You’ll need a shovel, rake, wheelbarrow, tamper or plate compactor, level, landscape fabric, base gravel, and your chosen hardscape material. For larger projects, rent a plate compactor rather than relying on hand tamping. Proper compaction is critical for preventing settling, and manual methods rarely achieve the density needed in clay soil conditions. Explore hardscaping essentials to understand material options and their applications.
Pro Tip: Mark utility lines before excavating. Georgia law requires calling 811 at least three business days before digging. This free service locates underground gas, electric, water, and communication lines, preventing dangerous accidents and costly repairs.
With preparation complete, follow this proven sequence for durable hardscape installation. Each step builds on the previous one, so resist the temptation to skip ahead or take shortcuts. Proper execution now prevents repairs later.
Pro Tip: Work during dry weather when possible. Wet clay soil is difficult to excavate and compact properly. If rain interrupts your project, let the site dry before continuing. Compacting wet base material creates a weak foundation that will settle unevenly as it dries.
Once installation is complete, systematic verification catches problems early when fixes are simple. Walk the entire hardscape surface checking for level, stability, and proper drainage. Press down on pavers to identify any that rock or feel loose. These indicate inadequate base compaction or voids beneath the surface. Remove and reset loose pavers after adding base material and re-compacting the area.
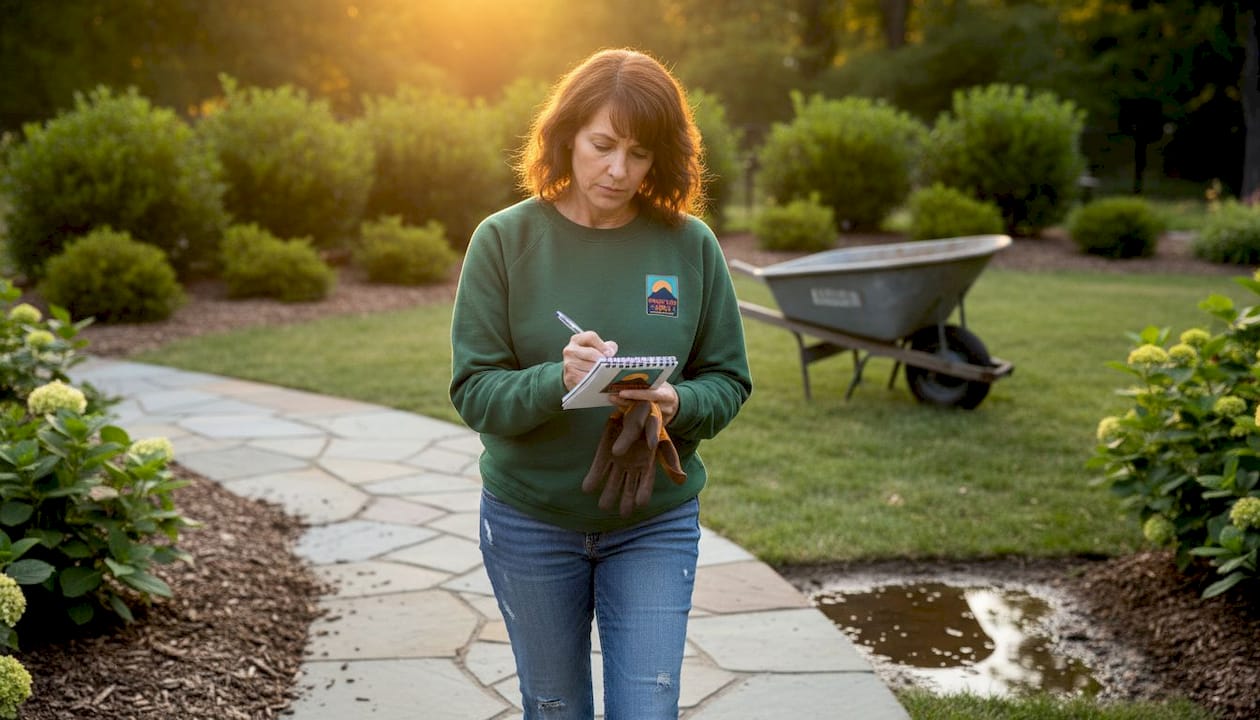
Test drainage immediately by running water over the surface with a hose. Water should flow away from buildings and not pool anywhere on the hardscape. If you notice standing water, you may need to adjust slope or add drainage solutions. Small depressions can sometimes be corrected by lifting pavers, adding bedding sand, and resetting. Larger drainage problems might require installing a dry creek bed or French drain to redirect water flow.
Common issues emerge in the first year as the installation settles and experiences seasonal moisture changes. Regular inspection helps you spot these problems before they worsen.
| Problem | Cause | Solution |
|---|---|---|
| Standing water | Poor slope or blocked drainage | Adjust grade, clear outlets, add drains |
| Sinking pavers | Inadequate base compaction | Lift pavers, add base, re-compact |
| Loose joints | Sand washout from rain | Refill with polymeric sand |
| Cracked pavers | Freeze-thaw or heavy loads | Replace damaged units |
| Weed growth | Insufficient joint sand | Pull weeds, refill joints |
| Gravel migration | Missing edge restraints | Install edging, rake gravel back |
Schedule maintenance twice yearly to extend hardscape life. Spring inspection catches winter damage from freeze-thaw cycles. Check for cracked or displaced materials and make repairs before problems spread. Clean the surface with a stiff broom or pressure washer to remove dirt and organic stains. Fall maintenance prepares the hardscape for winter by clearing drainage paths and ensuring water flows away properly.
Re-sand joints every one to two years as traffic and weather gradually erode joint material. Remove old sand with a shop vacuum or pressure washer, let the area dry completely, then sweep in fresh polymeric sand. Mist lightly according to product instructions to activate bonding. This simple maintenance prevents many common problems and keeps your hardscape looking sharp.
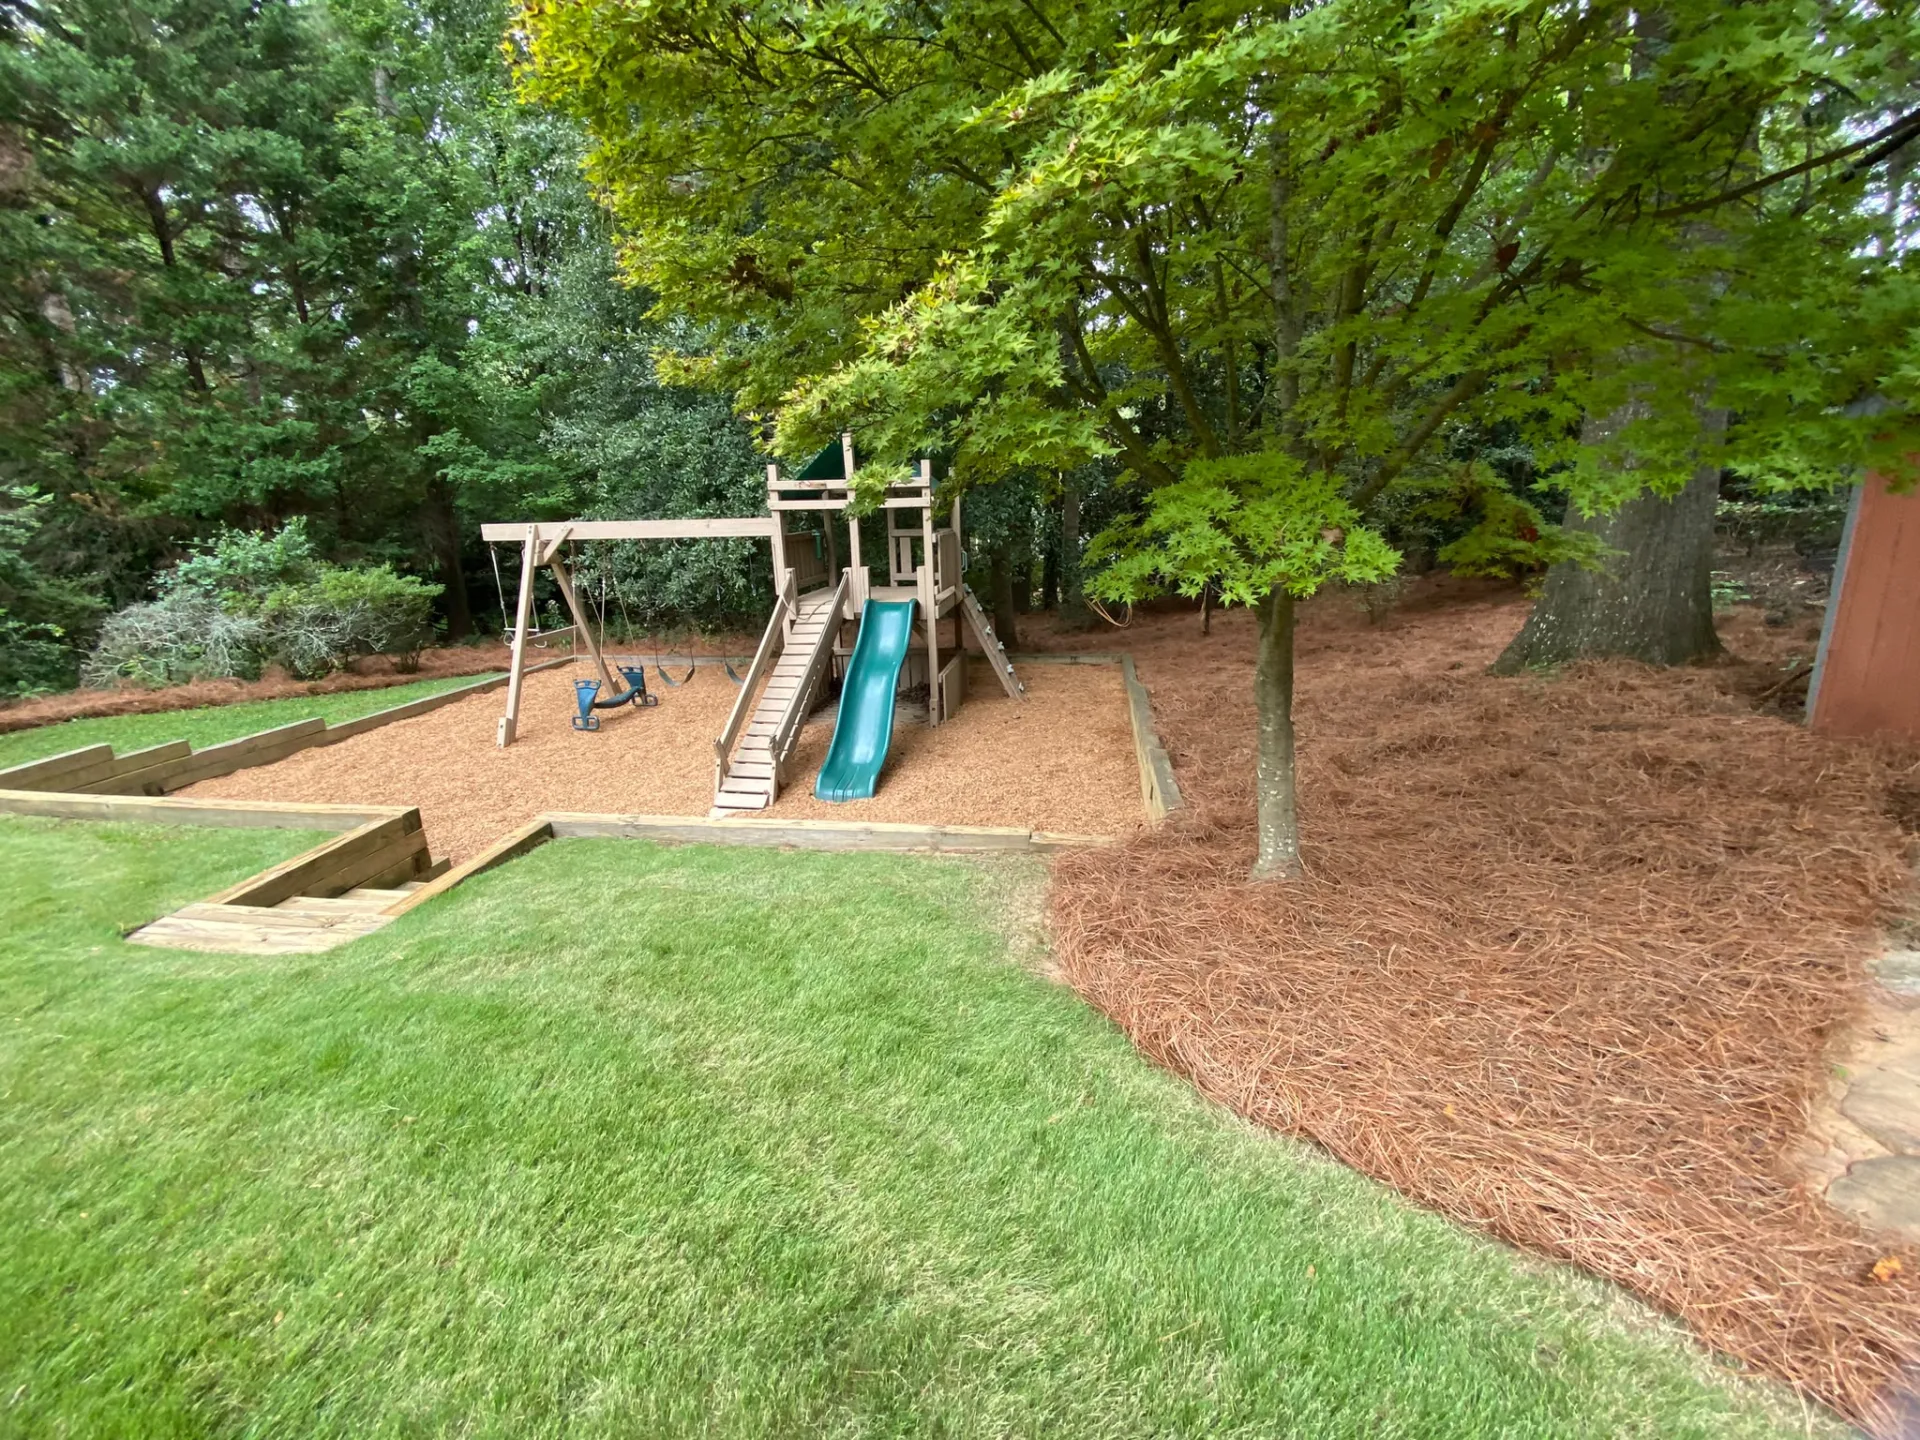
For gravel surfaces, rake periodically to redistribute material and maintain even coverage. Add fresh gravel every few years to replace material that migrates or compacts into the base layer. Edge maintenance is equally important, as borders contain the gravel and define clean lines. Repair or replace damaged edging promptly to prevent gravel from spreading into lawn or planting areas.
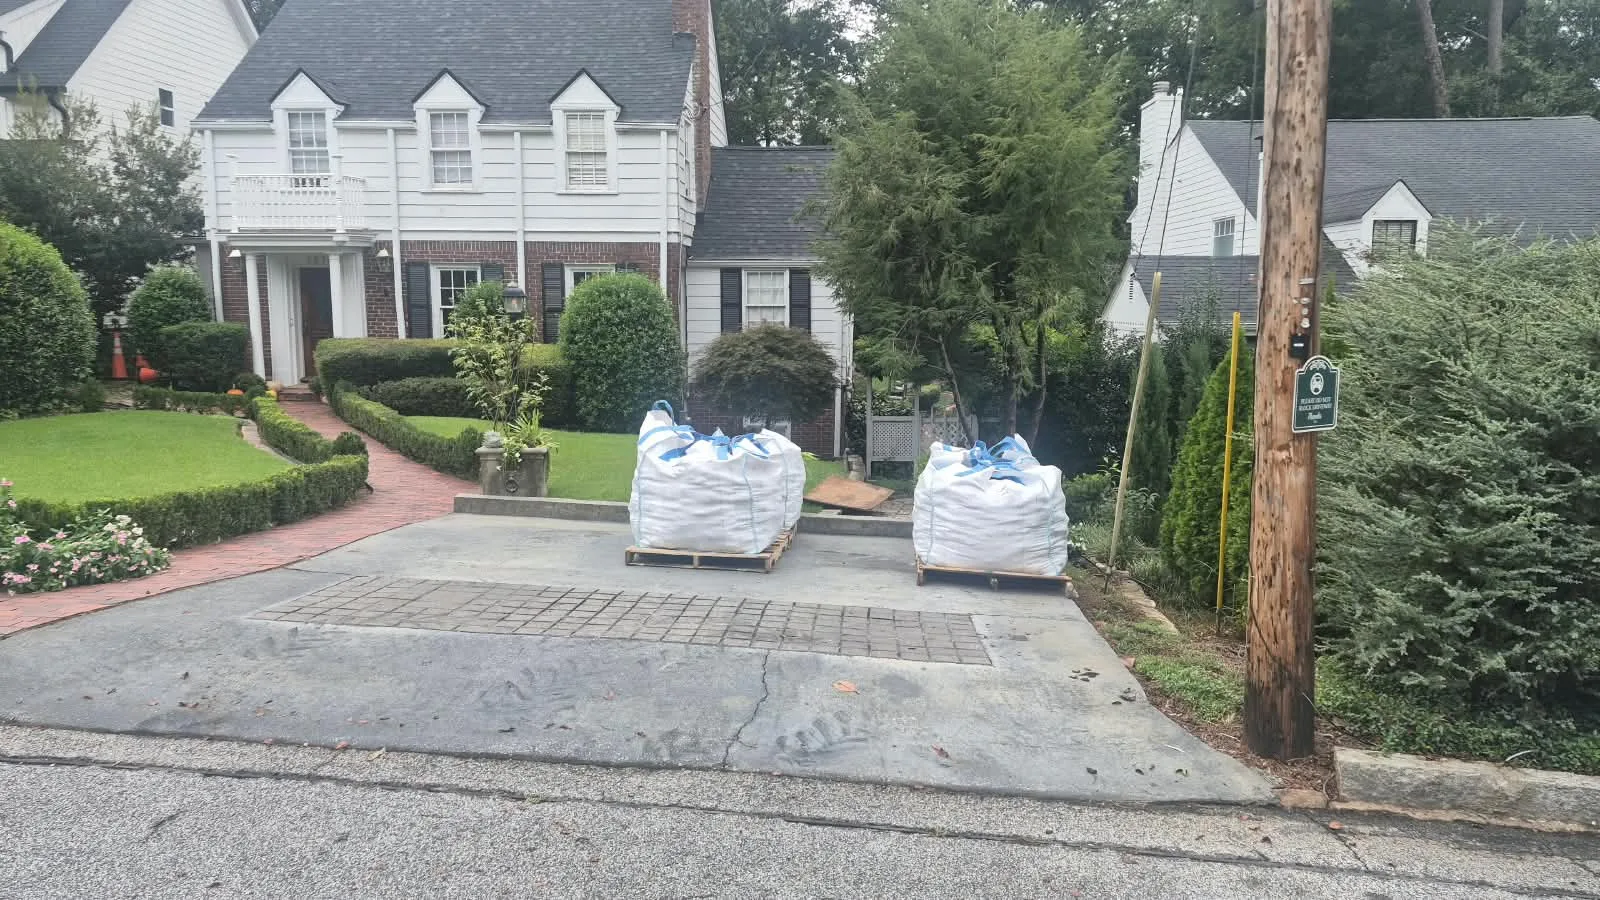
Quality materials make the difference between a hardscape that lasts decades and one that needs constant repairs. Mountain High Landscape Supply serves Atlanta, Marietta, and Smyrna with premium products specifically suited to local soil and climate conditions. Our pea gravel is ideal for paths and patios, offering excellent drainage and a clean finished look. For projects requiring base materials, we stock crushed stone in various sizes to meet your compaction needs.

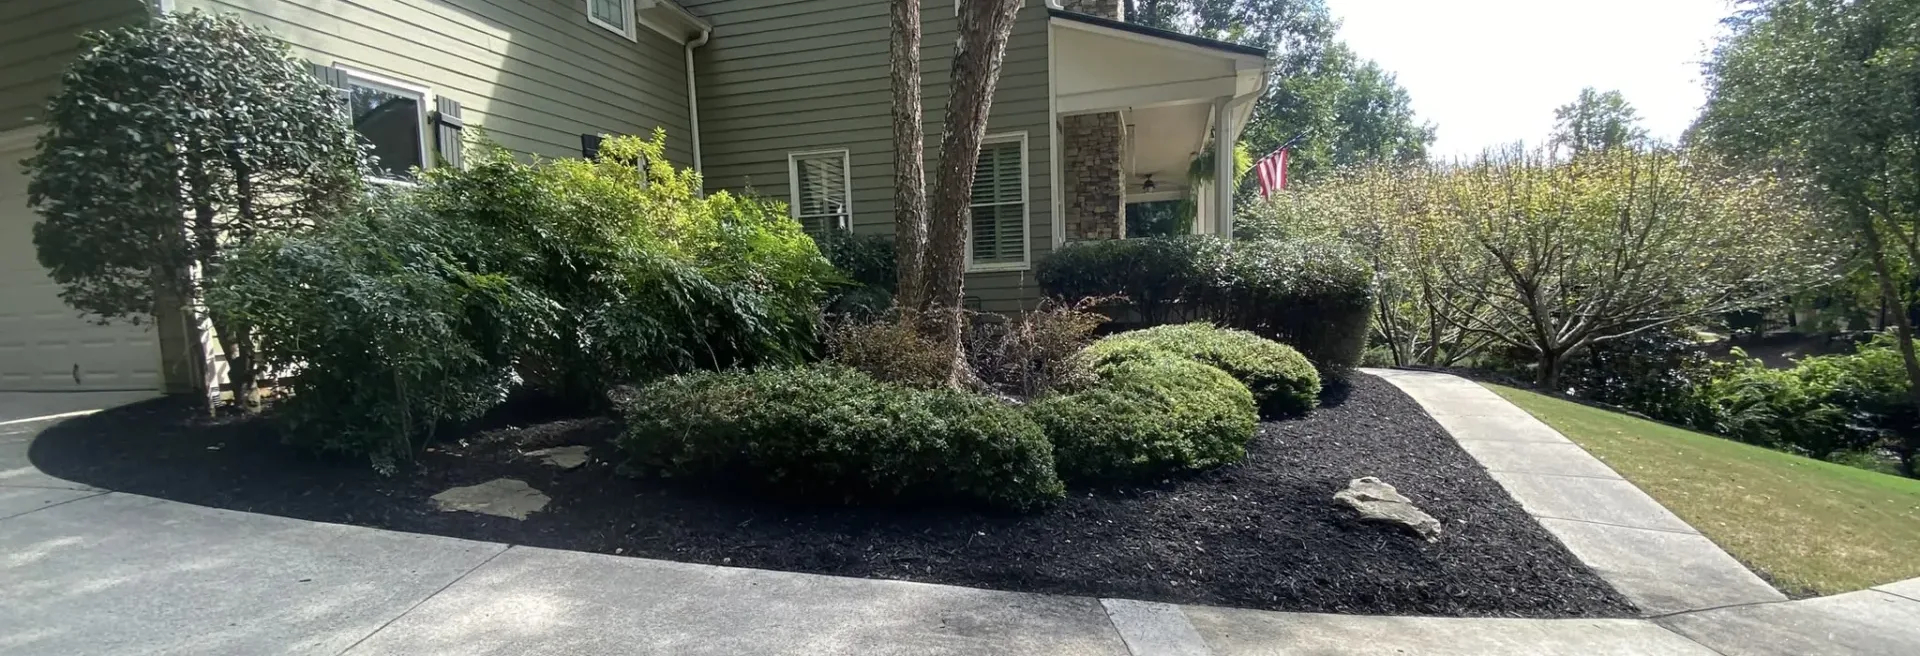
Complement your hardscape with healthy landscaping using our premium organic topsoil and red mulch options. Whether you’re a homeowner tackling a simple path or a contractor managing complex installations, our team provides expert guidance on material selection and quantities. Visit our clean, organized yards in Marietta or Smyrna for pickup, or take advantage of reliable delivery service throughout metro Atlanta. We’re here to support your project from planning through completion with quality products and local expertise you can trust.
Proper drainage planning is vital to avoid soil movement issues in Atlanta’s clay soil before installation. Site assessment ensures you select materials and design a workflow suited to your property’s specific topography and drainage patterns. Skipping this step leads to structural failures within months as water undermines your hardscape foundation.
DIY is suitable for simple gravel paths that don’t require extensive excavation or complex drainage solutions. Professional contractors are recommended for patios and walls higher than two feet due to soil challenges and the need for proper equipment. Pros understand local clay soil behavior and have compaction tools that ensure stable, long-lasting installations.
Drainage failure causes shifting or sinking when water pools under the hardscape or erodes base materials. Regular inspection and maintenance are key to early problem detection, allowing simple repairs like re-sanding joints or adjusting individual pavers. Catching issues early prevents the need for complete rebuilds and extends your hardscape’s lifespan significantly.
Inspect your hardscape twice yearly in spring and fall to catch seasonal damage early. Clean surfaces, check drainage function, and refill joints as needed during these inspections. Plan to re-sand paver joints every one to two years and add fresh gravel to paths as material compacts or migrates over time.