Starting a landscaping project means transforming your outdoor space into a functional, beautiful extension of your home through careful planning, design, and phased execution. Knowing how to start a landscaping project correctly separates a yard that thrives from one that costs you twice as much to fix. This guide walks you through every stage, from measuring your site and pulling permits to sequencing the work and sourcing the right materials. Whether you are tackling a full backyard overhaul or starting a garden project in a neglected side yard, the steps here apply directly to your situation.
The first physical step in any landscaping project is measuring and reading your site before you touch a single shovel. Accurate measurements of property lines, existing structures, and utility access points are critical for creating a scale plan that actually works. Without them, your irrigation layout or lighting plan may be physically impossible to install.
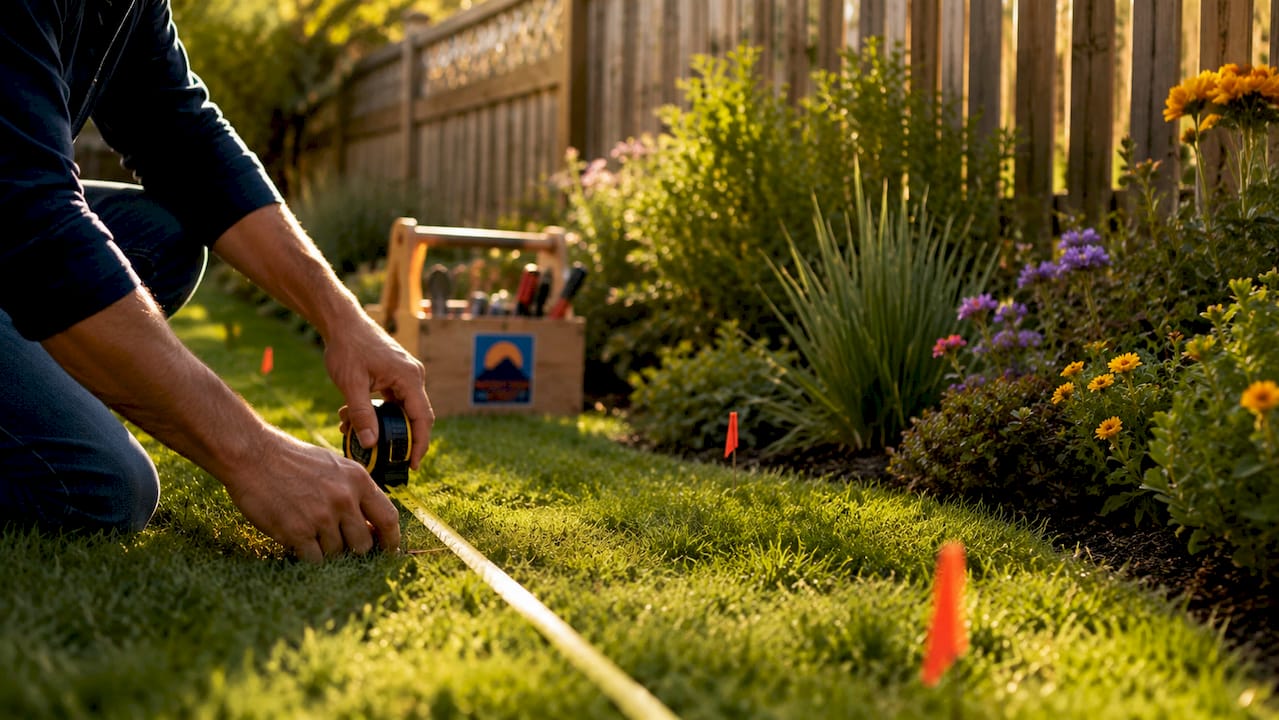
Use a reliable tape measure, such as a Komelon self-lock model, to record every dimension. Walk the yard and note sun and shade patterns at different times of day, drainage flow after rain, soil texture, and any existing hardscape. These observations shape every decision that follows.
Satellite imagery from Google Maps gives you a bird’s-eye reference for scale and proportion before you sketch anything. Cross-reference it with your physical measurements to catch discrepancies early.
Pro Tip: Measure twice and sketch once. A single missed utility line can turn a weekend project into a multi-week repair job.
Landscape designers recommend creating a concise project brief that outlines your priorities, budget, and timeline before any design work begins. This brief prevents scope creep, the single most common reason DIY projects stall halfway through. Write down your primary goals: entertaining space, vegetable garden, low-maintenance lawn, or a mix.
Once your goals are clear, set your budget with real numbers. A basic DIY landscaping project typically costs around $2,600 for materials, while hiring a professional averages $8,150. That gap is significant. It means a well-planned DIY approach can deliver professional-quality results at roughly one-third of the cost.
Use rough sketches on graph paper or a free tool like SketchUp to explore layout options. Assign zones to functions: seating area, planting beds, lawn, and pathways. Revisit your brief every time you feel tempted to add a feature mid-project.
| Approach | Average cost | Best for |
|---|---|---|
| Full DIY | ~$2,600 materials | Hands-on homeowners with time |
| Partial DIY | $4,000–$6,000 | Homeowners hiring labor only |
| Full professional | ~$8,150 | Complex designs or tight timelines |
Pro Tip: Prioritize drainage and grading fixes in your budget before any aesthetic features. A beautiful patio built on poorly graded soil will crack and flood within two seasons.
Permits are not optional, and skipping them can force you to demolish finished work. Most municipalities require permits for structures over 100 square feet, electrical lighting installations, irrigation plumbing, and major grading changes over 2 feet. Check with your local city or county building department before breaking ground.
Site preparation runs parallel to the permit process. Clear debris, remove unwanted vegetation, and test your soil pH and composition. A standard soil test from your local cooperative extension office costs under $20 and tells you exactly what amendments your soil needs.
Grading is the most overlooked step in beginner landscaping. A 2% slope away from structures is the standard for drainage. That equals one-quarter inch of drop per foot. Miss this, and water pools against your foundation.
Pro Tip: Call your local municipality before you design, not after. Some areas have HOA restrictions or easement rules that override your design entirely.
Correct sequencing means completing grading, infrastructure, and hardscaping before any planting. This is the rule most beginners break. They buy plants first, then realize the ground needs regrading, and the plants get damaged or buried in the process.
A landscaping project generally follows a 6–7 week timeline. Planning takes weeks 1–2. Infrastructure and hardscaping fill weeks 3–6. Planting and lawn installation happen in weeks 6–7. That sequence exists for a reason: heavy equipment and grading work destroys new plantings.
| Phase | Task | Why it comes first |
|---|---|---|
| Infrastructure | Grading, drainage, utilities | Prevents rework and plant damage |
| Hardscape | Patios, paths, retaining walls | Heavy work destroys soft surfaces |
| Soil prep | Topsoil, amendments | Beds need settling before planting |
| Softscape | Sod, plants, mulch | Final layer, easiest to replace |
Pro Tip: Starting with infrastructure before planting prevents the most expensive beginner mistake: buying plants before fixing drainage and grading.
The right materials make the difference between a yard that looks good for one season and one that holds up for a decade. The four core material categories for most residential projects are mulch, topsoil, stone or fieldstone, and sod. Each serves a distinct function.
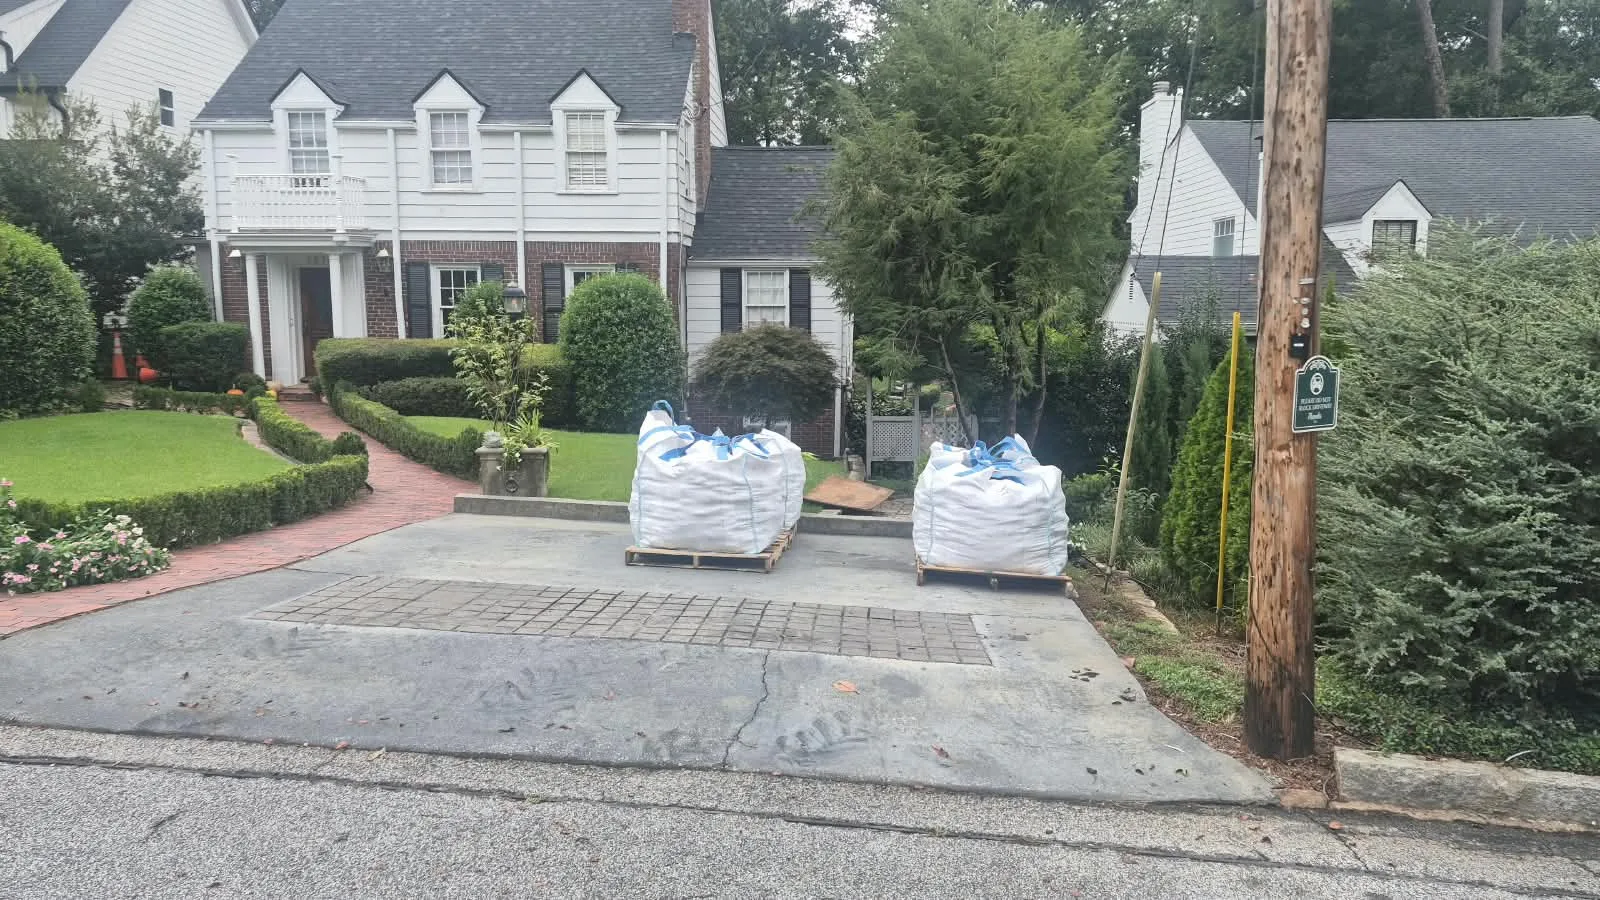
Bulk delivery from a local supply yard costs less per unit than bagged materials and eliminates dozens of trips to a hardware store. Knowing landscape supply terminology before you call a supplier saves time and prevents ordering errors.
Pro Tip: Order bulk materials by cubic yard for mulch and topsoil, and by ton for stone. Confusing the two units is the most common ordering mistake homeowners make.
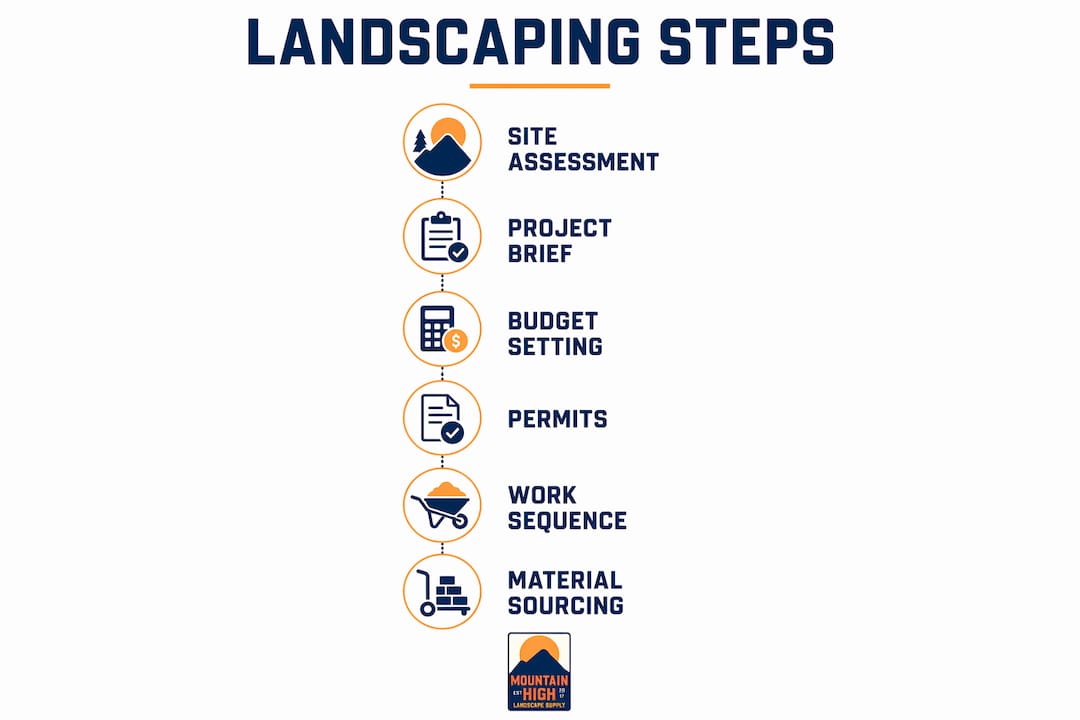
A successful landscaping project requires site assessment, a written brief, correct sequencing, and quality materials sourced before work begins.
| Point | Details |
|---|---|
| Measure before you design | Record property lines, utilities, and drainage patterns before sketching any layout. |
| Write a project brief | A clear brief with budget and priorities prevents scope creep and mid-project changes. |
| Pull permits early | Check local requirements for structures, grading, and electrical before breaking ground. |
| Follow the correct sequence | Complete grading, infrastructure, and hardscaping before any planting or sod installation. |
| Source bulk materials locally | Bulk mulch, topsoil, and stone from a local yard costs less and delivers faster than bagged alternatives. |
The most consistent mistake I see is treating a landscaping project like a shopping trip. Homeowners pick plants they love at the nursery, bring them home, and then realize the ground is not ready. Successful landscaping starts with reading the land, using what is already there rather than fighting it. A yard with a natural slope is telling you where the water wants to go. Work with that, not against it.
The second mistake is skipping the brief. A written brief sounds formal, but it is just a one-page document that answers three questions: What do I want this space to do? What is my hard budget limit? When does this need to be done? Aligning expectations early prevents the frustration of a half-finished project that ran out of money or direction.
The best yards I have seen are not the ones that followed a rigid design template. They are the ones where the homeowner balanced design principles with their own instincts and paid attention to their local microclimate. A phased approach, even if it takes two or three seasons to complete, produces better results than rushing everything into one overwhelming weekend.
— Eric
When you are ready to source materials, the quality of what you buy matters as much as the plan you follow.

Mountainhighmulch serves Atlanta, Marietta, Smyrna, and surrounding Georgia communities with premium mulch, topsoil, sand, gravel, stone, and sod. Our supply yards in Marietta and Smyrna are clean, organized, and staffed by experts who can help you calculate quantities, choose the right product, and avoid costly ordering mistakes. You can pick up materials directly or use our delivery service across the metro area. Browse our top-rated landscape materials to find everything your project needs in one place. For a step-by-step yard guide built specifically for Atlanta homeowners, we have that covered too.
The first step is measuring your site and recording sun patterns, drainage flow, and utility locations. Accurate site data prevents costly design errors before any work begins.
A basic DIY landscaping project typically costs around $2,600 for materials. Hiring a full professional service averages $8,150, making DIY roughly one-third of the cost.
Most municipalities require permits for structures over 100 square feet, electrical lighting, irrigation plumbing, and grading changes over 2 feet. Check with your local building department before starting.
Complete grading and drainage first, then underground utilities, then hardscaping such as patios and paths, then soil preparation, and finally planting and sod installation. This sequence prevents rework and protects new plants.
The four core materials are mulch, topsoil, stone or fieldstone, and sod. Buying these in bulk from a local supply yard costs less per unit than bagged options from a hardware store.