A yard improvement workflow is a structured, phased process for transforming your outdoor space efficiently, without costly rework or wasted materials. Most homeowners treat yard projects as a single push of effort. Professionals treat them as a sequence of decisions, each one building on the last. The difference shows up in the final result. A well-executed landscape design process moves from site assessment through hardscape, utilities, softscape, and finishing in a deliberate order. Mountainhighmulch works with Atlanta-area homeowners every day who skip steps and pay for it later. This guide gives you the full sequence so you do not have to.
A yard improvement workflow covers every decision from the first site photo to the final bag of mulch. The industry term for this process is a phased construction workflow, and it applies whether you are doing a full outdoor space makeover or a focused backyard improvement plan. Professional landscape design timelines typically run 4–8 weeks from site assessment to construction-ready plans. That timeline exists because documentation, concept iteration, and cost estimates each require dedicated attention. Skipping any of them creates budget overruns and design conflicts that cost far more to fix than to prevent.
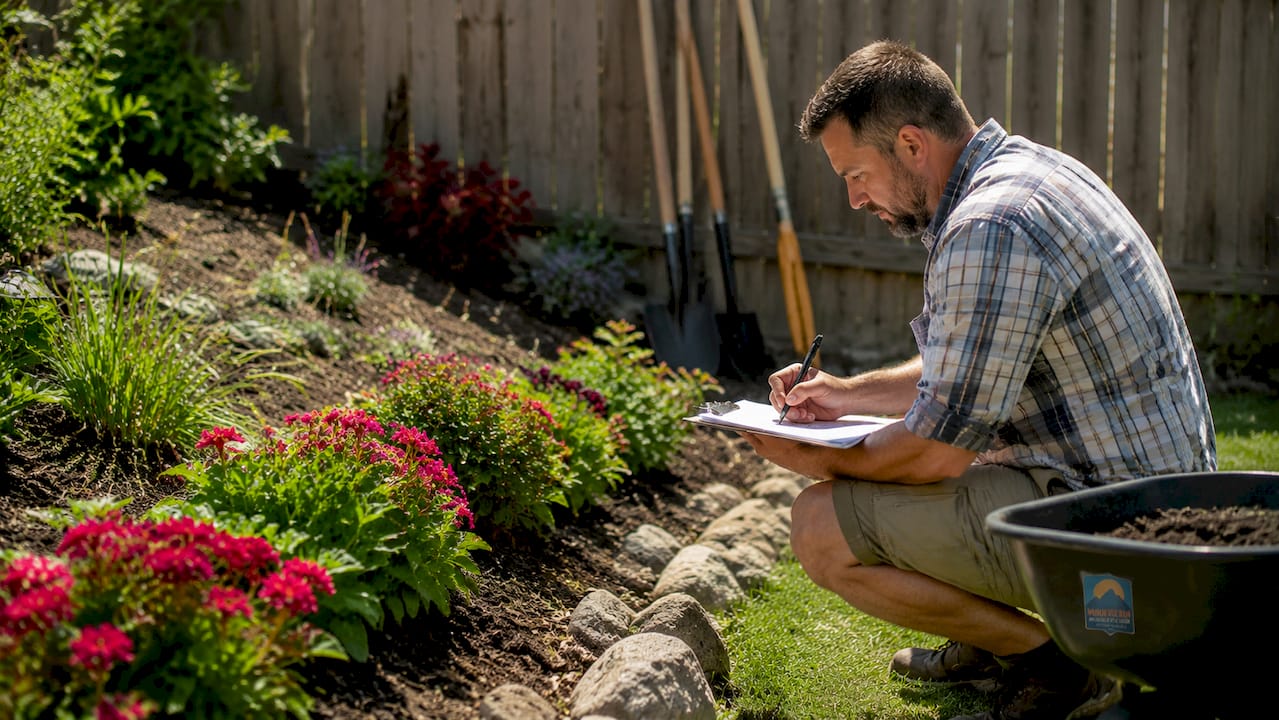
Site assessment is the most undervalued step in any garden renovation. Documenting site conditions including water pooling, sun and shade angles, and existing utility locations is the baseline data that prevents contractor disputes and construction surprises. Take photos from every corner of the yard at different times of day. Note where water collects after rain, which areas stay shaded, and where foot traffic naturally flows.
Before any digging begins, call 811 to locate underground utilities. This is not optional. Striking a gas or electrical line costs thousands of dollars and creates serious safety risks.
Grading and drainage come next. Landscape design must prioritize drainage and grading as foundational steps before any hardscaping or softscape work. Water that pools near a foundation or patio will undermine every improvement you make on top of it. Mountainhighmulch carries organic screened topsoil specifically suited for regrading and soil correction in Atlanta-area yards.
| Assessment task | Why it matters |
|---|---|
| Photo documentation | Creates a baseline for design decisions and contractor accountability |
| Sun and shade mapping | Determines plant placement and surface material choices |
| Water pooling observation | Identifies drainage problems before hardscape is installed |
| Utility location (call 811) | Prevents dangerous and expensive underground strikes |
| Soil condition check | Guides topsoil, amendment, and grading decisions |
Pro Tip: Walk your yard after a heavy rain before you plan anything. The spots where water sits for more than 30 minutes are your highest-priority drainage problems.
A unified phased construction workflow reduces rework by about 90%. That figure reflects a simple truth: each phase creates the conditions the next phase depends on. Doing them out of order means tearing up finished work.
The correct sequence is:
Pro Tip: Design everything at once, even if your budget only covers phase one this year. Master planning from the start prevents phases from conflicting with each other later.
| Phased workflow | Common error |
|---|---|
| Grade and drain before hardscape | Pouring concrete over unresolved drainage |
| Bury utilities before planting | Trenching through established beds |
| Install sod after hardscape | Laying sod before heavy equipment access |
| Mulch after edging is set | Mulching without defined borders |
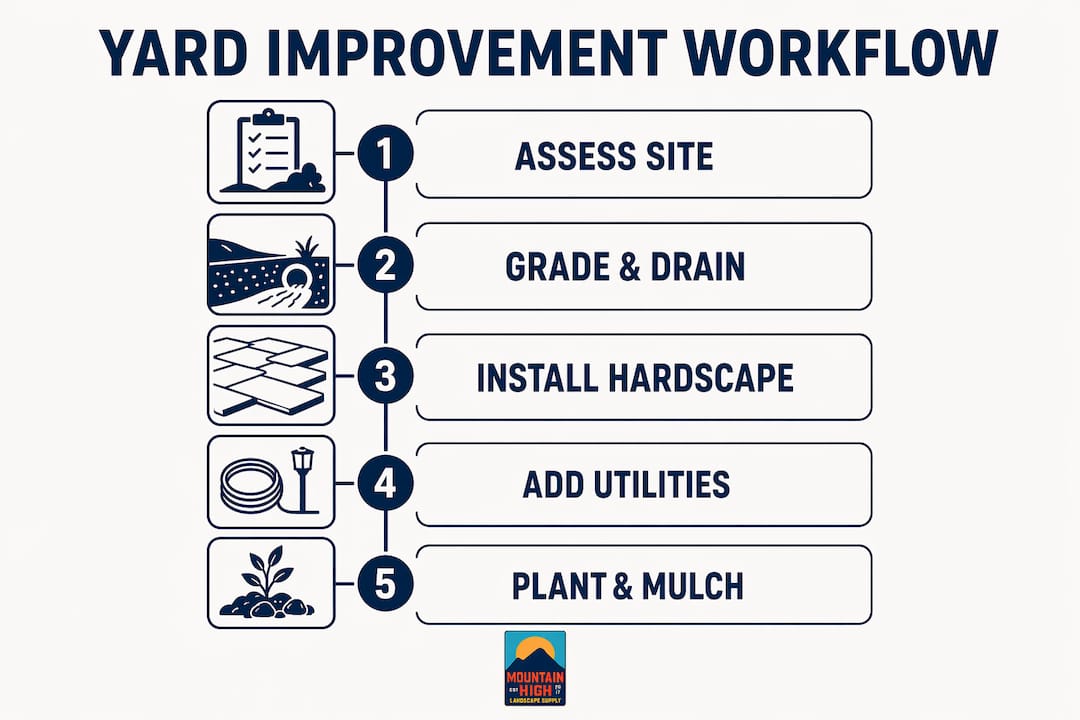
For Atlanta homeowners, Mountainhighmulch provides a detailed hardscape installation workflow that maps this sequence to local conditions and material choices.
Zoning your yard into outdoor rooms with hard borders and logical paths maximizes usability and reduces maintenance. Permanent borders eliminate frequent trimming and create clean, functional spaces that are easy to maintain year after year. Think of each zone as a room with a defined purpose.
Common zones for residential yards include:
Use a limited plant palette within each zone. Repeating the same two or three plant varieties creates visual cohesion without requiring a large budget. Hard borders made from stone, metal edging, or concrete pavers define each zone clearly and cut down on weekly trimming. Mountainhighmulch stocks gravel, stone, and edging materials suited for creating these permanent zone boundaries across Atlanta-area properties.
Low-cost yard upgrades with high impact include fresh mulch, repeated plant groupings, and reducing lawn area. These choices prioritize durable materials and climate-appropriate plants that lower long-term maintenance costs. The goal is to spend once and maintain less.
Pro Tip: Reducing lawn area is one of the highest-return moves in a backyard improvement plan. Replace grass with mulched beds, gravel paths, or groundcover plants to cut mowing time and water costs significantly.
A structured, phased yard improvement workflow prevents rework, controls costs, and produces results that hold up over time.
| Point | Details |
|---|---|
| Assess before you build | Document water pooling, sun angles, and utilities before any work begins. |
| Follow the phased sequence | Site prep, hardscape, utilities, softscape, and finishes must go in that order. |
| Design the full plan first | Master plan the entire yard before building phase one to prevent conflicts later. |
| Zone for function and low maintenance | Hard borders and defined outdoor rooms reduce trimming and simplify upkeep. |
| Mulch and plant repetition cut costs | Fresh mulch and repeated plant groupings deliver high visual impact at low cost. |
The most common and expensive mistake I see is starting with the fun part. A homeowner installs a beautiful patio, then realizes the drainage runs directly under it. Or they plant a full garden bed, then need to trench through it for irrigation. Both situations are completely avoidable with a proper workflow.
The master plan approach sounds like extra work upfront. It is not. Spending two weekends on documentation and a full site plan saves months of rework and thousands of dollars. I have seen Atlanta homeowners lose entire patios to drainage failures that a basic grading assessment would have caught. The landscape drainage solutions available for Georgia yards are straightforward when addressed early. They become expensive when addressed after the fact.
My honest advice: treat your yard like a construction project, not a weekend hobby. Phase your budget, document everything, and buy materials that match your climate. The yards that look best five years later are the ones that started with a plan, not a trip to the garden center.
— Eric
Every phase of a yard improvement project depends on quality materials arriving on time and in the right quantities. Mountainhighmulch serves Atlanta, Marietta, Smyrna, and surrounding communities with premium mulch, organic screened topsoil, sod, gravel, stone, and sand for every phase of your project.

Our team helps homeowners select the right materials for each phase, from grading fill to finishing mulch. Browse our top-rated landscape materials or check the best landscape materials for 2026 to match your project needs. Pick up from our Marietta or Smyrna locations, or use our landscape supply delivery service across the metro area. Our expert staff is ready to help you get the right product for every phase of your plan.
A yard improvement workflow is a phased sequence of steps covering site assessment, hardscape, utilities, softscape, and finishing. Following this order prevents rework and keeps projects on budget.
Professional landscape design workflows typically take 4–8 weeks from site assessment to construction-ready plans, covering documentation, concept development, and cost estimates.
Unresolved drainage problems undermine patios, walkways, and planted areas installed on top of them. Grading and drainage must be addressed in phase one to protect every improvement that follows.
Fresh mulch, repeated plant groupings, and reducing lawn area deliver strong visual results at low cost. These choices also lower long-term maintenance labor and water use.
Call 811 before any digging, regardless of project size. Locating underground utilities before excavation prevents dangerous strikes and avoids costly repairs to gas, electrical, and water lines.